ローカルでStable Video Diffusionを実行する方法 - ja
公式ウェブサイト
- github | https://github.com/Stability-AI/generative-models
- Hugging Face | https://huggingface.co/stabilityai/stable-video-diffusion-img2vid-xt
- 論文 | https://stability.ai/research/stable-video-diffusion-scaling-latent-video-diffusion-models-to-large-datasets
私のシステム環境
- メモリ64G
- 3090 GPU、24Gビデオメモリー
ステップ1: ダウンロード
- 公式リポジトリをクローンする
git clone https://github.com/Stability-AI/generative-models

cd generative-models- モデルをダウンロードする
4つのモデルがあり、どれでも使用できます。保存ディレクトリ: generative-models/checkpoints
- SVD | https://huggingface.co/stabilityai/stable-video-diffusion-img2vid-xt
- SVD-XT | https://huggingface.co/stabilityai/stable-video-diffusion-img2vid
ステップ2: Pythonの環境設定
conda create --name svd python=3.10 -y

source activate svd

pip3 install -r requirements/pt2.txt

pip3 install .
ステップ3: 実行
cd generative-models

streamlit run scripts/demo/video_sampling.py  --server.address  0.0.0.0  --server.port 7862
起動時に、さらに2つのモデルがダウンロードされます。手動でダウンロードして、次のディレクトリに置くことができます:
/root/.cache/huggingface/hub/models–laion–CLIP-ViT-H-14-laion2B-s32B-b79K

/root/.cache/clip/ViT-L-14.pt
ダウンロードアドレス:
https://huggingface.co/laion/CLIP-ViT-H-14-laion2B-s32B-b79K/tree/main

https://openaipublic.azureedge.net/clip/models/b8cca3fd41ae0c99ba7e8951adf17d267cdb84cd88be6f7c2e0eca1737a03836/ViT-L-14.pt
実行を続けると、エラーが報告されます
from scripts.demo.streamlit_helpers import *

ModuleNotFoundError: No module named 'scripts'
環境変数を追加する
RUN echo 'export PYTHONPATH=/generative-models:$PYTHONPATH' >>  /root/.bashrc

source /root/.bashrc
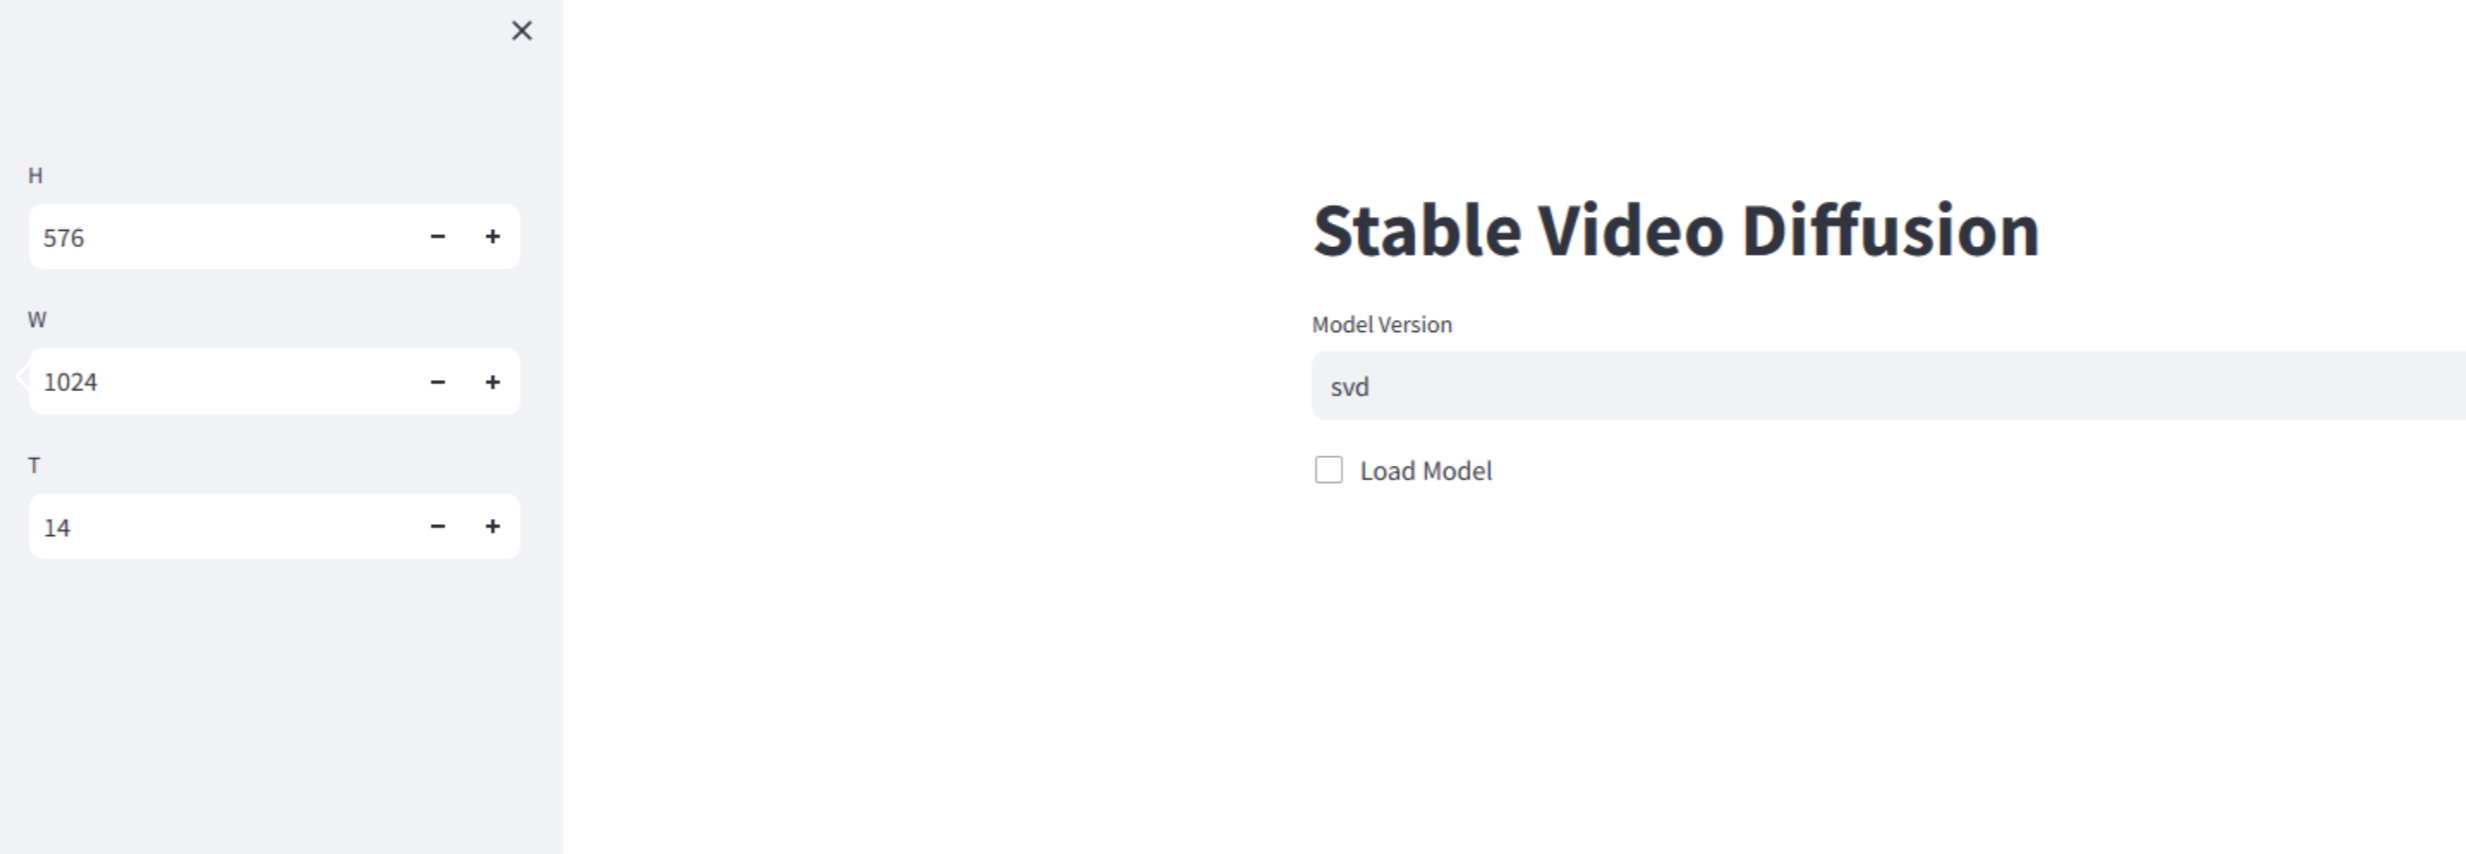
再起動に成功すると、ローカルの安定したビデオ拡散にアクセスできます: http://0.0.0.0:7862
ステップ4: 使用
- ローカルの安定したビデオ拡散にアクセス http://0.0.0.0:7862

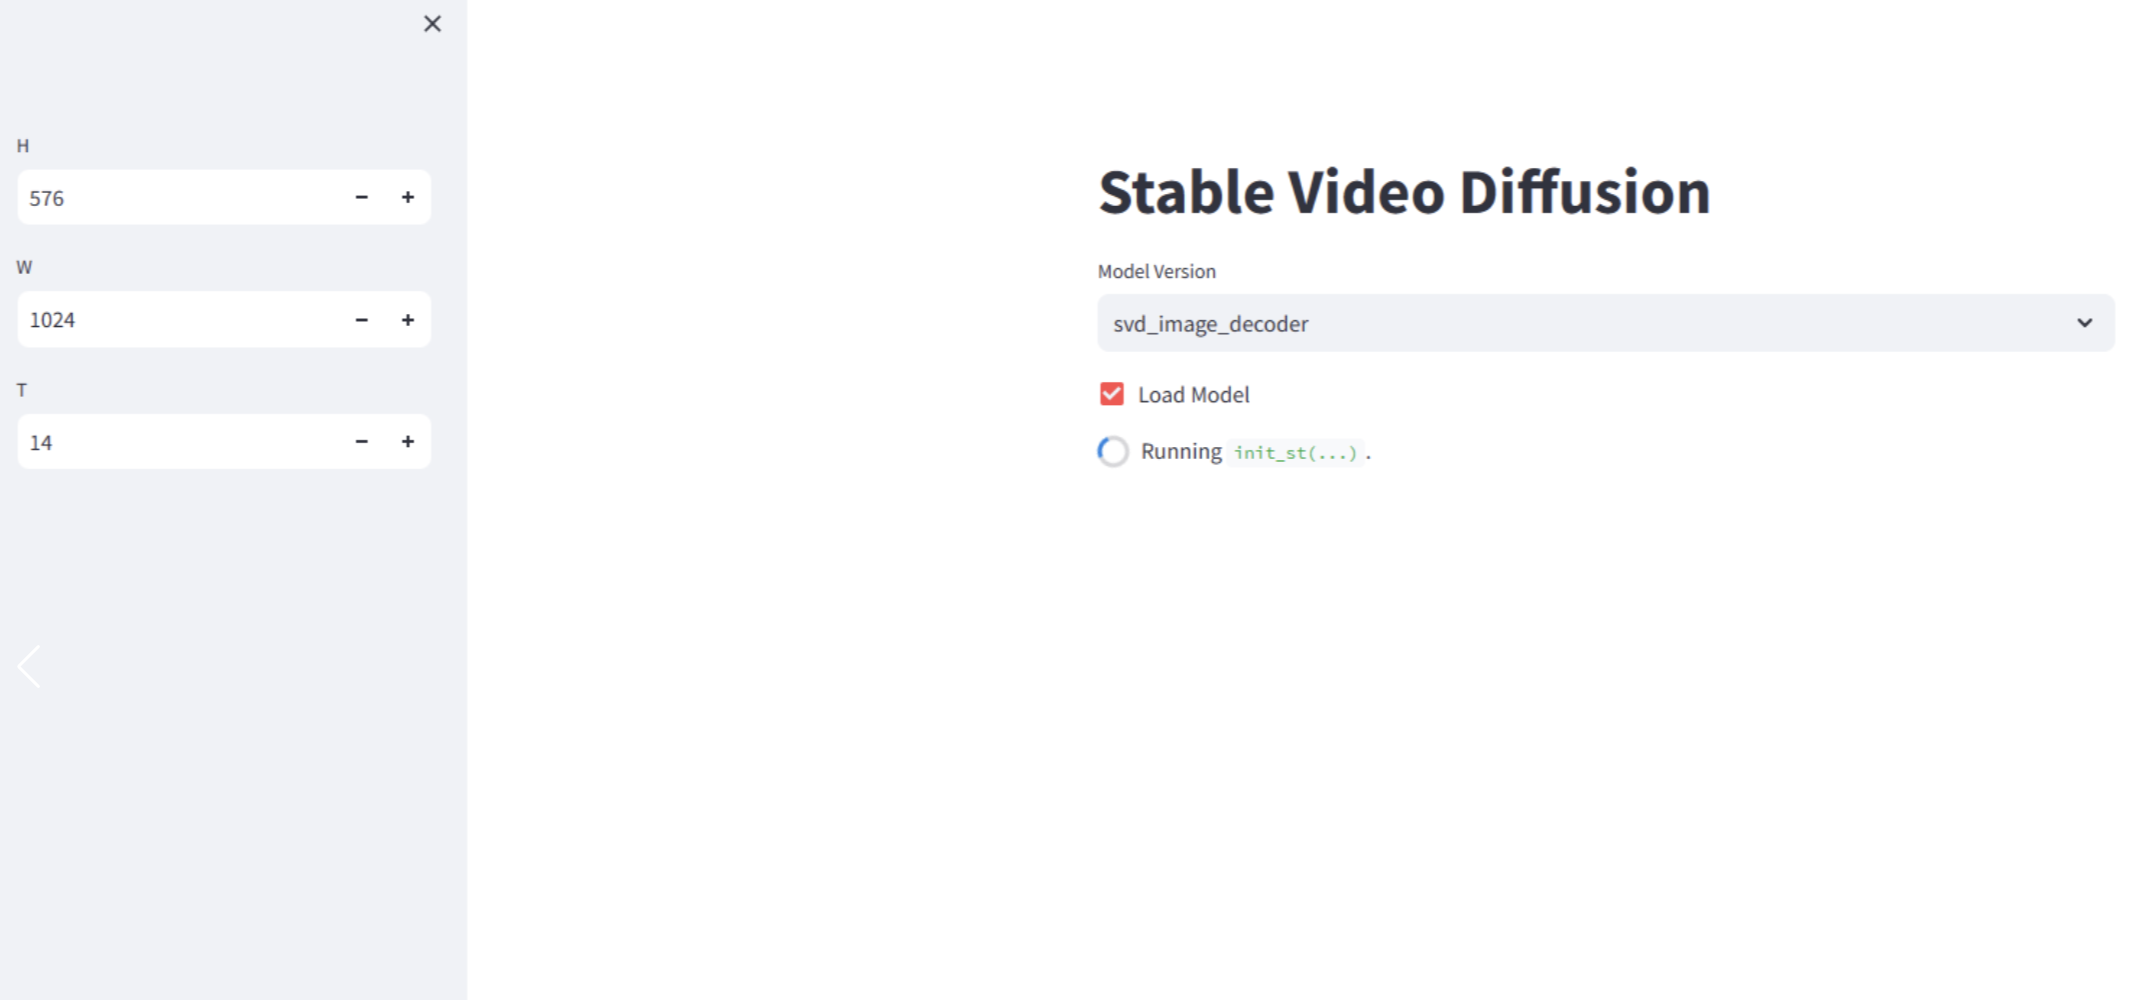
- 操作を開始し、モデルバージョンを選択してからチェックを入れると、速度はマシンの構成に依存し、私たちのコンピューターでは2〜3分かかります。

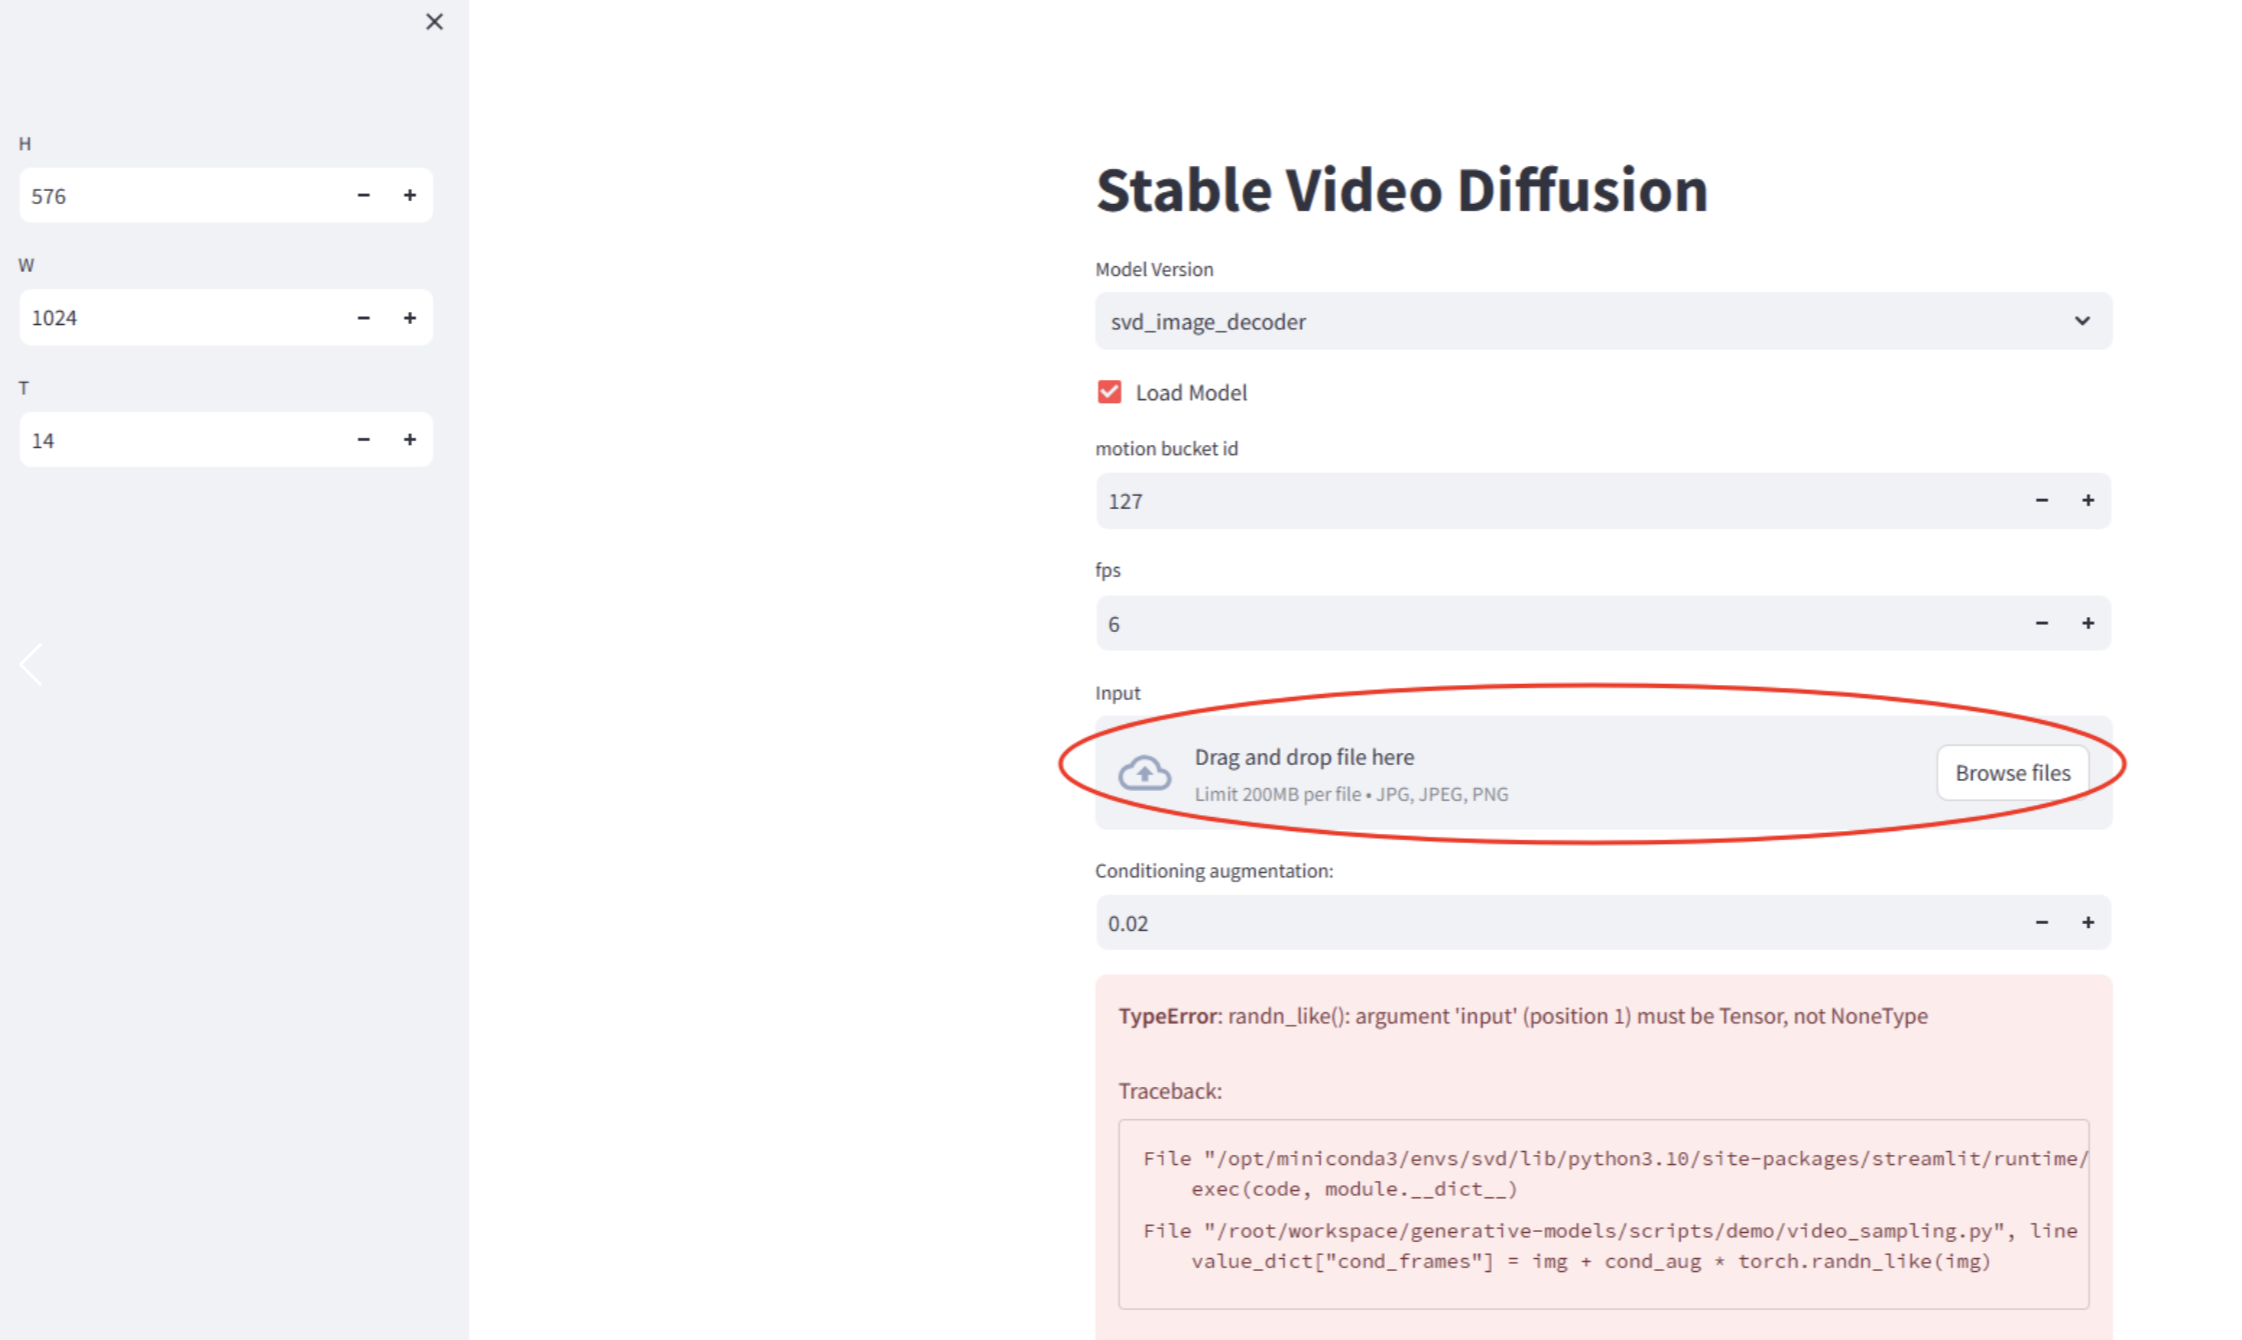
- 画像をアップロードする

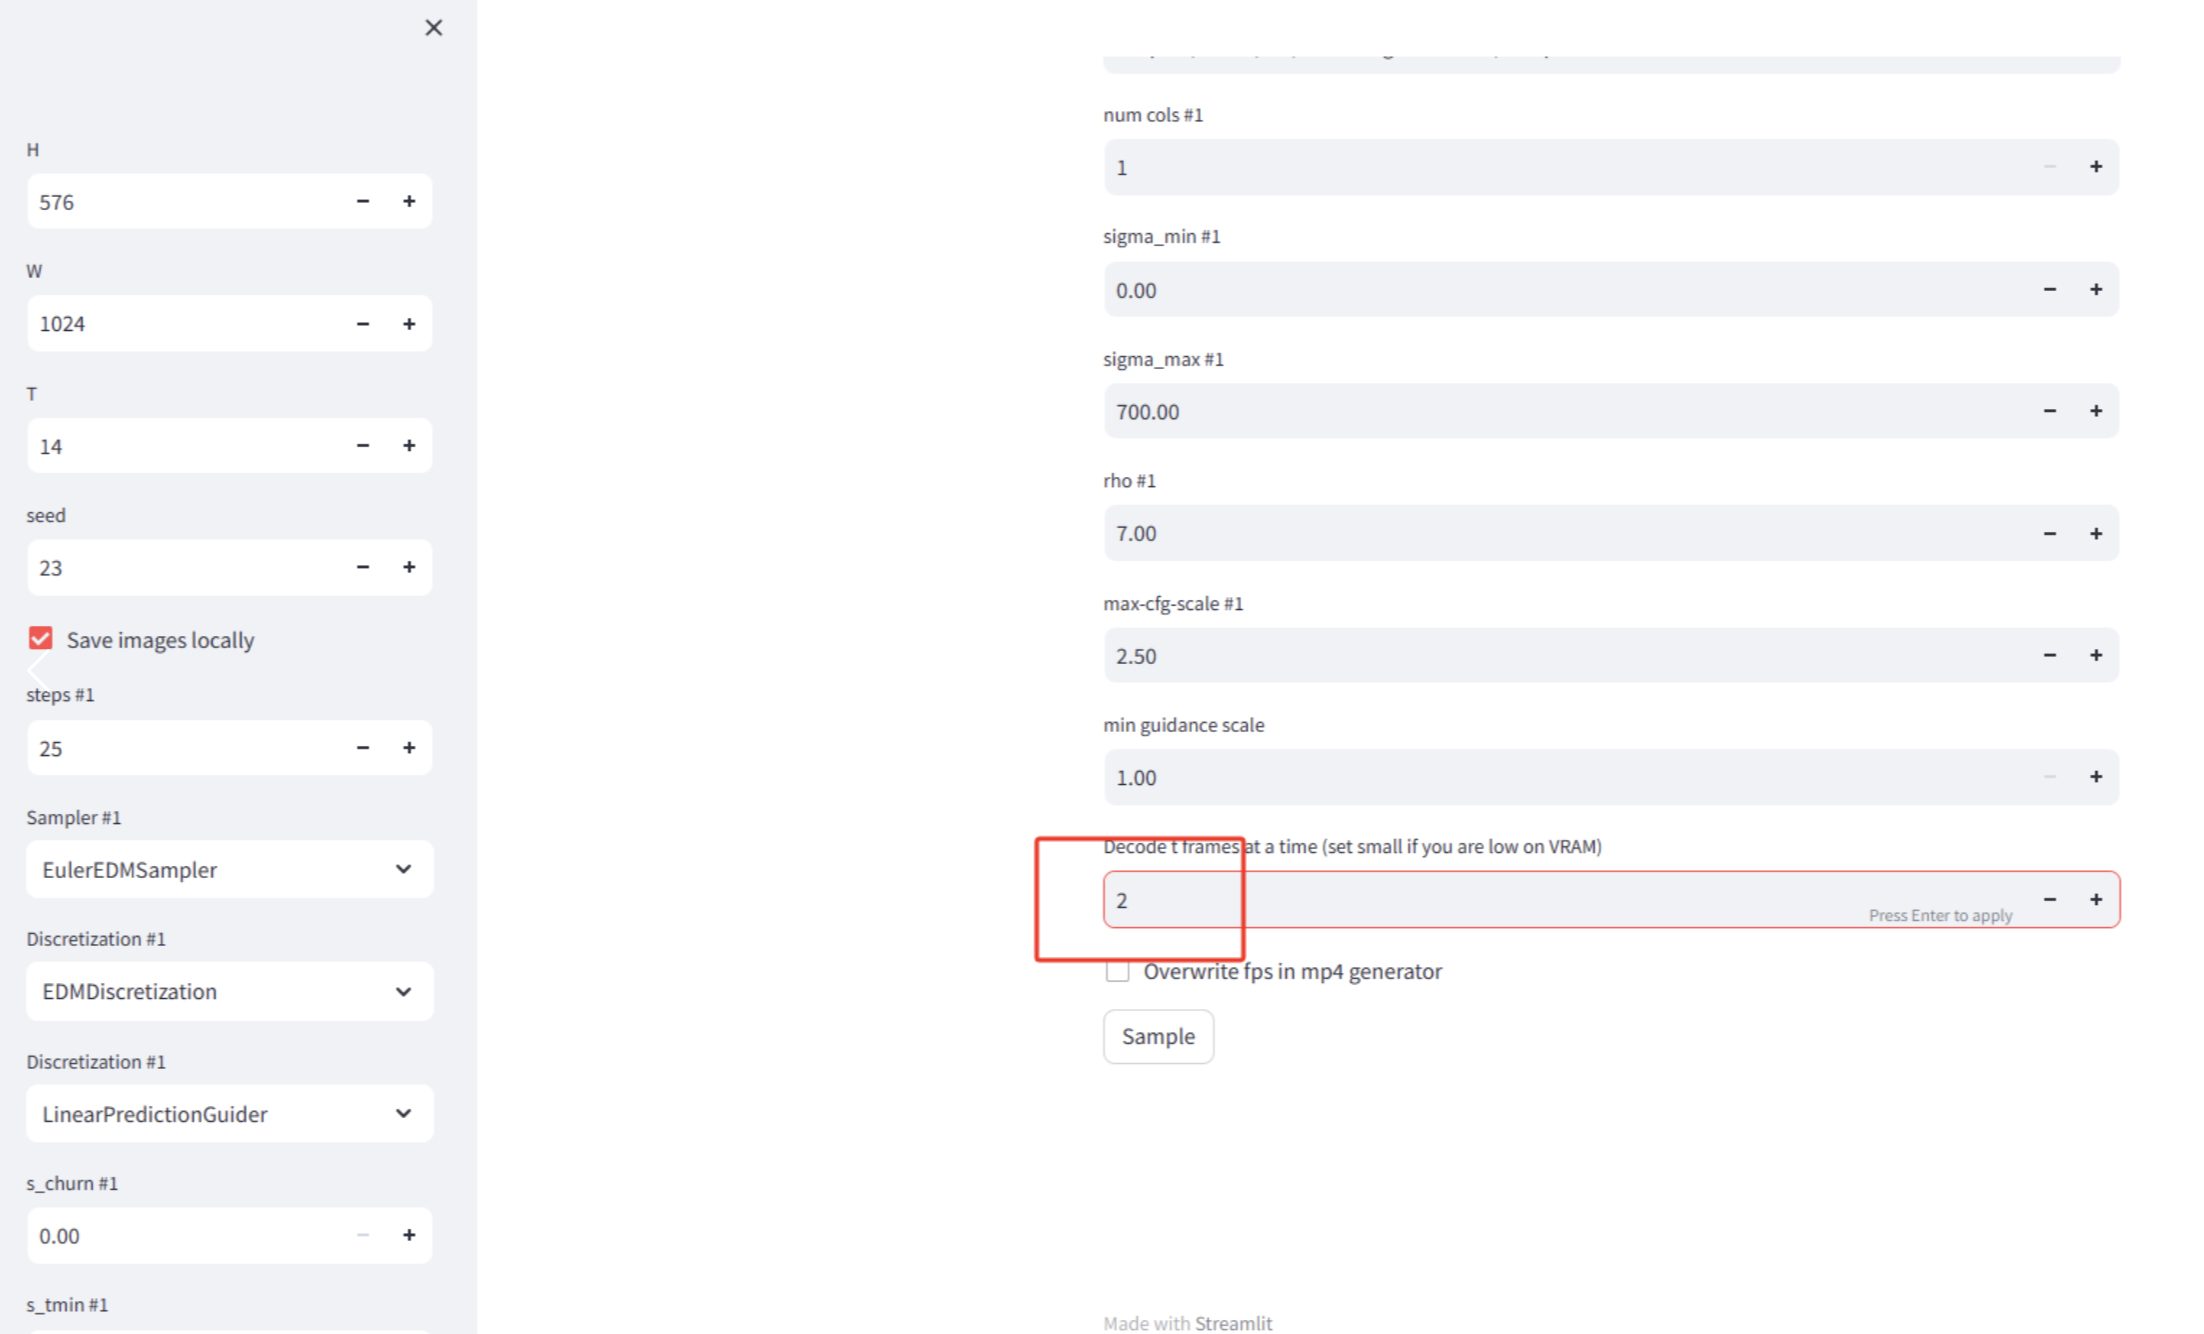
- 赤いボックスのフレーム数を2に変更する。大きすぎてメモリエラーが発生しやすいです。他のパラメータは変更せずに残しておきます。 「サンプル」をクリックし、次にバックステージを見る

- 処理が完了すると、ビデオを見ることができます。ビデオは
generative-models/outputs/demo/vid/svd_image_decoder/samplesに保存されています。2秒のビデオが生成されているのがわかります。
